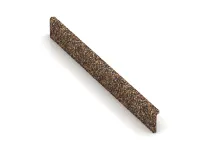
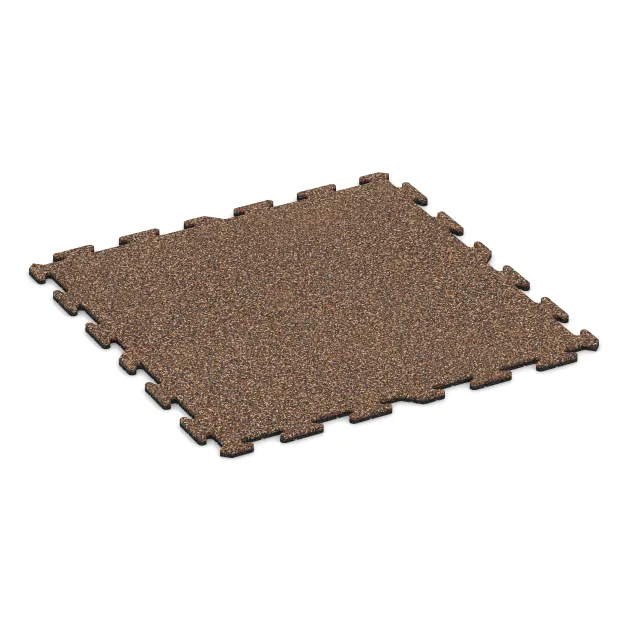
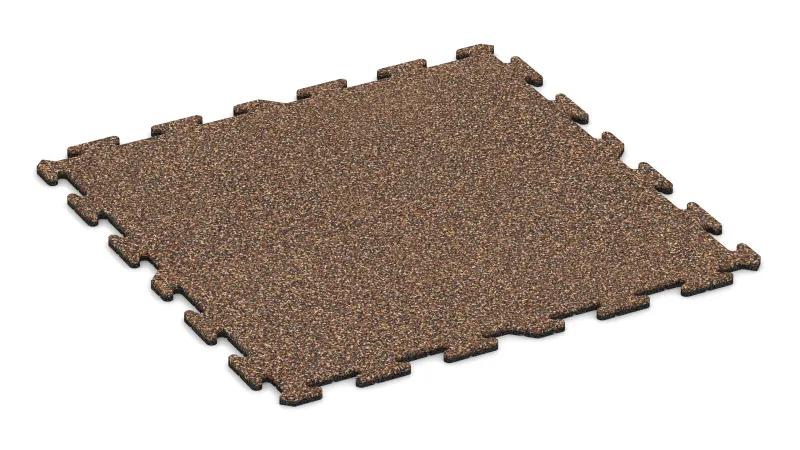
Sports flooring tile 1.8 cm BZ "Bark & Bast"
- /
-
Delivery in approx.
7-14 days - £45.60 / 1 Piece / m²
- (14.94 kg / Piece)
EAN: 4251469342347 | Item no.: 4234
The 1.8 cm sports flooring tile is a versatile solution for sports and play areas that combine comfort, safety and an attractive appearance. It is suitable for private use as well as schools and clubs, offering durability, elasticity and easy maintenance.
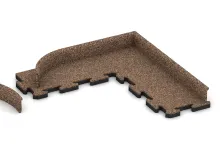
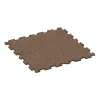
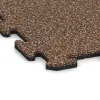
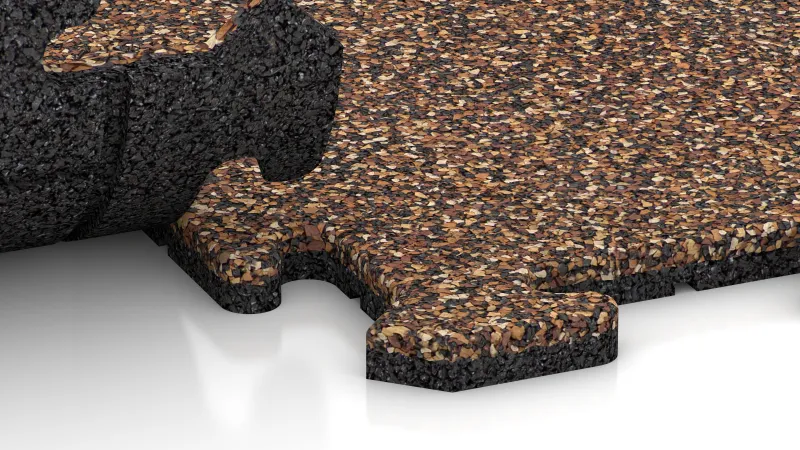
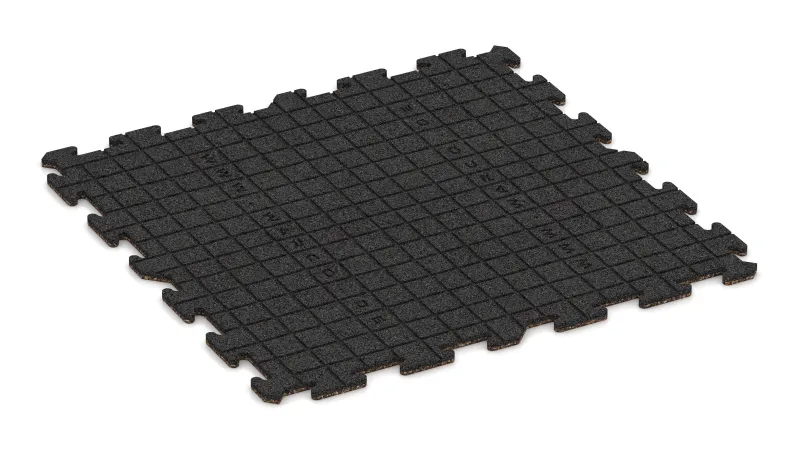
The tiles are available in 50 × 50 cm and 100 × 100 cm formats. Both variants feature an interlocking puzzle connection with rounded bevels, which is accurately moulded during pressing to ensure dimensional stability. This creates a strong connection and a clean joint pattern. The 50 × 50 cm format is ideal for smaller indoor areas or outdoor spaces up to around 30 m². The larger 100 × 100 cm tiles should only be used indoors or in covered areas – such as sports halls, tents or commercial spaces. Both formats are also suitable for temporary or mobile applications, for example at events.
Safety and comfort
The surface is slip-resistant and provides reliable grip – even during dynamic play. Its elastic structure cushions impacts, protects joints, reduces noise and lowers the risk of injury. Thanks to precise manufacturing, a consistent ball rebound is also ensured.
Weather-resistant and durable
The sports flooring tile is UV-stabilised and frost-resistant. Outdoors, the open-pore structure allows rainwater to drain, so the surface quickly becomes usable again. This makes the flooring suitable for year-round use. Indoors, there are no restrictions regarding surface size.
Easy installation and maintenance
The tiles can be laid on concrete, asphalt or a suitable base layer without the need for special tools. Maintenance is straightforward: sweeping, mopping, a garden hose or a pressure washer are sufficient.
Areas of use
Whether in club facilities, school gyms, small outdoor areas or at events – the 1.8 cm sports flooring tile combines robustness, safety and comfort with easy handling and a professional appearance.


Discount
Product Highlights
Characteristics
Product Details – Material and Structure

Comparative values
To calculate how many tiles you need for your project, simply use the online installation planner available in the shop. This free browser-based tool is directly accessible on each product page – just below the price and quantity selection. Click on “Plan installation” to open the tool instantly – no registration or download required.
Enter the dimensions of your area, such as the length and width in metres. The planner will then automatically calculate the total number of tiles required, including a realistic allowance for offcuts. You’ll also be shown a suitable layout pattern for the selected product. The tool is user-friendly, accurate and ideal for planning your material requirements with confidence.
Yes, that is the standard approach. The vast majority of our customers – whether private, municipal, or commercial – install the delivered WARCO tiles themselves or with their own staff. The installation is simple and requires no special skills. Only fitting the curb into a concrete foundation with back support demands a little extra craftsmanship. Cutting the elements to size and laying them on a suitable substrate is not challenging. You can find all essential installation information in our Expert Advice – FAQ section on our website.
WARCO offers several connection systems for floor tiles, each differing in design, installation method and visual appearance. Below is an overview of the key differences:
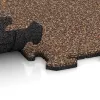
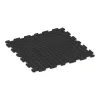
Puzzle joint (visible)
In this system, the tile edges feature an interlocking profile reminiscent of classic jigsaw teeth or mushroom-shaped connectors. During installation, the profiles of adjacent tiles interlock to form a continuous connection across the full tile thickness.
The joint profile may be formed directly during pressing or precisely cut after the tile has cured. Whether the joint is visible in the finished surface depends on the edge finish (e.g. with or without chamfer) and the surface colouration.
The symmetrical shape ensures uniform load transfer and makes this type of joint the most mechanically stable option.
Plug-in connectors (plastic dowels)
This system uses separate connecting elements, typically round plastic dowels, which are inserted into pre-drilled holes along the sides of the tiles. The tiles themselves have smooth, straight edges similar to precast concrete slabs.
Installation is carried out in a half-bond (stretcher bond) pattern: each tile is connected via dowels to two tiles in the row above and two in the row below. This prevents lateral shifting, although some movement along the length of the dowels remains possible. For this reason, an edge restraint must be installed around the perimeter to stabilise the entire area.
Concealed puzzle joint
This method is based on the same mechanical principle as the classic puzzle joint, but is designed to be invisible in the finished surface. The interlocking profile is located on the underside of the tile, integrated into a rebated step joint.
Two tile edges feature a positive locking profile, the other two a matching negative profile. When laid, the tiles interlock securely from below, forming a durable mechanical connection. From above, the surface appears seamless and aligned, typically with a clean, square joint pattern similar to a chessboard layout.