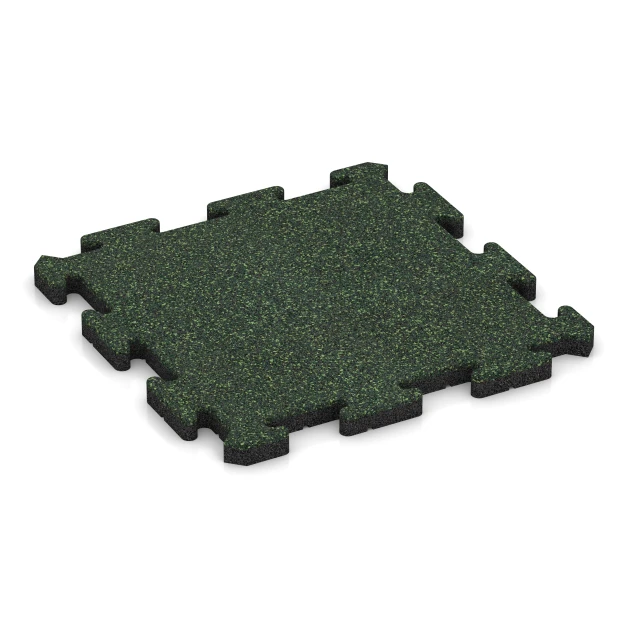
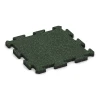
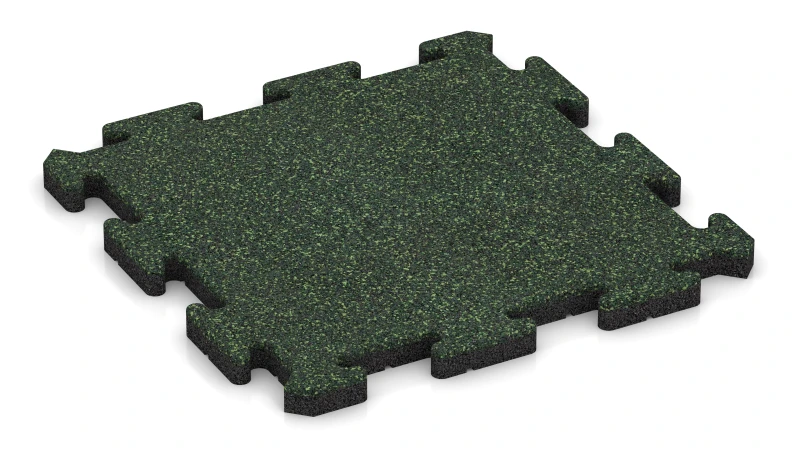
Interlocking playground safety tile TZ "English Lawn"
- /
-
Delivery in approx.
7-14 days - £62.80 / 4 Piece / m²
- (5.78 kg / Piece)
EAN: 4251469326309 | Item no.: 2630
The WARCO interlocking playground safety tile provides certified protection wherever slips and minor falls need to be cushioned – on playgrounds, in nurseries and schools, on terrace play areas, and in community spaces. With certified protection for fall heights of up to 100 cm in accordance with EN 1177 (at a thickness of 4 cm), it is ideal for circulation and play areas that do not feature high climbing frames or raised platforms. In senior care facilities, rehabilitation centres and fitness areas, the elastic, interlocking tiles are a proven flooring option that delivers safety, comfort and cost efficiency.
Typical applications:
– Play zones for young children, balance and activity areas
– Schoolyards, nurseries and municipal sites
– Terraces with play equipment or seating areas
– Fitness and outdoor fitness zones
– Senior residences, nursing care, rehabilitation and therapy rooms
Material & structure:
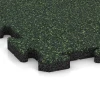
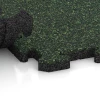
The tiles are manufactured from PU-bonded rubber granulate and feature a resilient, slip-resistant surface. Available in 3 or 4 cm thicknesses, they provide dependable shock absorption with a low build-up height. Precision-cut interlocking puzzle edges ensure a secure, form-fitting connection, while a slight edge bevel creates a calm, tidy joint appearance.
Connection & installation
The tiles are laid floating and joined via the interlocking puzzle edges. This produces a dimensionally stable, form-fitting surface with aligned joints (stack bond/cross joints) suitable for both indoor and outdoor use. The handy 50 × 50 cm format makes installation simple and requires no specialist tools.
Properties & safety
The tiles are slip-resistant in wet and dry conditions, water-permeable and resilient. Rainwater can either infiltrate the subgrade or drain through the integrated drainage channels on a bound base layer beneath the tiles. This prevents puddles or dust patches from forming, ensuring the surface remains usable all year round. Outdoors, unbound sub-bases (e.g. plastic honeycomb grids or gravel grids) help to prevent soil sealing.
Maintenance & economy
Maintenance is straightforward: rainfall rinses away light soiling, while heavier dirt can be swept or blown off. Cleaning with a mop, a pressure washer or professional floor-cleaning equipment is also possible. Individual tiles can be replaced if required. The modular system keeps costs predictable, making the interlocking safety tile a durable and economical choice for many applications.


Discount
Product Highlights
Characteristics
Product Details – Material and Structure

Comparative values
To calculate how many tiles you need for your project, simply use the online installation planner available in the shop. This free browser-based tool is directly accessible on each product page – just below the price and quantity selection. Click on “Plan installation” to open the tool instantly – no registration or download required.
Enter the dimensions of your area, such as the length and width in metres. The planner will then automatically calculate the total number of tiles required, including a realistic allowance for offcuts. You’ll also be shown a suitable layout pattern for the selected product. The tool is user-friendly, accurate and ideal for planning your material requirements with confidence.
Proper installation is essential to ensure the performance, safety and longevity of Playground Safety Mats and Playground Safety Tiles. The recommended method depends on the intended use, the condition of the sub-base and the specific product type.
Suitable sub-base – stable, level and free-draining
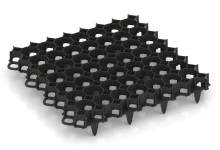
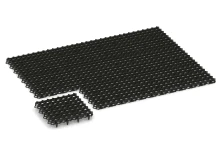
For outdoor installations, WARCO recommends a long-term stable, water-permeable base layer. Proven options include plastic ground reinforcement grids (gravel stabilisation panels) or an existing bound and porous sub-base such as porous concrete. If the base is not permeable, exposed surfaces must include a drainage gradient of at least 1.5 %. Installation on loose materials like sand, gravel or crushed stone is not recommended, as these tend to shift under resilient rubber tiles.
Laying pattern and connection systems
Depending on the product, tiles are installed in a half-bond or cross-bond pattern. WARCO offers two connection systems: plastic alignment dowels or form-fitting interlocking profiles. Especially the interlocking system ensures dimensional stability and prevents lateral displacement of the surface.
Cutting and fitting
Tiles can be trimmed to size using a circular saw or jigsaw (with blades suitable for rubber or wood), or a sharp utility knife. Accurate cuts and clean joins are especially important at edges, transitions and around fixed structures.
Edge finishing and trip protection
All exposed edges should be finished using bevelled or ramp-edge tiles to eliminate trip hazards. In public areas such as playgrounds, edging with kerbstones, frame profiles or flat perimeter barriers is recommended – and mandatory when using systems with plastic dowels.
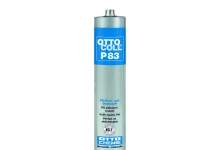
Adhesive fixing and edge bonding (optional)
On solid surfaces like concrete or asphalt, tiles may be spot- or fully bonded using a single-component polyurethane adhesive. Edge tiles can also be bonded to each other to further stabilise the area. Ramped and corner tiles with bevelled profiles should always be glued down on firm substrates.
Installation under suitable conditions
Installation should be carried out at ambient temperatures between 5 °C and 17 °C. The material must be dry and acclimatised before laying. Avoid installing in direct sunlight or at temperatures above 18 °C, as the tiles may expand during handling and compromise the fit.
WARCO offers several connection systems for floor tiles, each differing in design, installation method and visual appearance. Below is an overview of the key differences:
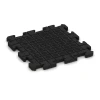
Puzzle joint (visible)
In this system, the tile edges feature an interlocking profile reminiscent of classic jigsaw teeth or mushroom-shaped connectors. During installation, the profiles of adjacent tiles interlock to form a continuous connection across the full tile thickness.
The joint profile may be formed directly during pressing or precisely cut after the tile has cured. Whether the joint is visible in the finished surface depends on the edge finish (e.g. with or without chamfer) and the surface colouration.
The symmetrical shape ensures uniform load transfer and makes this type of joint the most mechanically stable option.
Plug-in connectors (plastic dowels)
This system uses separate connecting elements, typically round plastic dowels, which are inserted into pre-drilled holes along the sides of the tiles. The tiles themselves have smooth, straight edges similar to precast concrete slabs.
Installation is carried out in a half-bond (stretcher bond) pattern: each tile is connected via dowels to two tiles in the row above and two in the row below. This prevents lateral shifting, although some movement along the length of the dowels remains possible. For this reason, an edge restraint must be installed around the perimeter to stabilise the entire area.
Concealed puzzle joint
This method is based on the same mechanical principle as the classic puzzle joint, but is designed to be invisible in the finished surface. The interlocking profile is located on the underside of the tile, integrated into a rebated step joint.
Two tile edges feature a positive locking profile, the other two a matching negative profile. When laid, the tiles interlock securely from below, forming a durable mechanical connection. From above, the surface appears seamless and aligned, typically with a clean, square joint pattern similar to a chessboard layout.
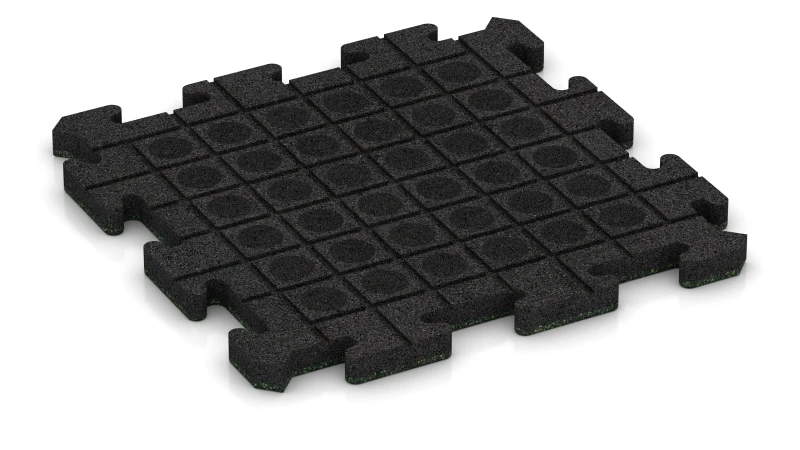
Playground safety tiles combine robust rubber granulate with a polyurethane binder to create a surface that cushions impact, prevents slipping, and performs equally well indoors and out. Understanding the layers and materials helps you select the right product for your specific application and fall heights.
The foundation layer uses recycled rubber granulate (ELT), cleaned to remove contaminants and graded by particle size. The granule texture—ranging from fine to medium grain—affects both the visual appearance and the mechanical performance of each tile. Finer particles create a denser, smoother aesthetic; coarser granules provide a more textured surface with different stress characteristics.
The binder system relies on polyurethane (PU), a permanently elastic synthetic material that bonds the granulate particles together. Polyurethane remains flexible across temperature swings, resists UV degradation, and creates strong adhesion without chemical outgassing or health concerns. The binder itself can be colourless (yielding grey or neutral tones) or pigmented to achieve vibrant colours, whilst maintaining low emissions standards throughout its service life.
Many products feature an upper wearing surface of EPDM rubber granulate, chosen for its exceptional UV stability and colour-fastness. EPDM granules are through-dyed—colour penetrates the entire particle—so wear patterns do not expose an artificial-looking undersurface. Pure EPDM products use UV-stabilised polyurethane binder to ensure the surface retains its integrity in direct sunlight without fading or brittleness.
Construction typically employs either a single homogeneous layer or a two-layer assembly. Single-layer tiles work well for many indoor and lighter-use outdoor applications. Two-layer variants position a resilient ELT base for shock absorption beneath an EPDM wearing surface for colour and abrasion resistance. Some products consist entirely of EPDM granulate throughout, offering excellent colour permanence at a higher material cost.
The underside features a structured profile—nodules, studs, or small dimples—that breaks the seal between tile and substrate. This design allows water to run away following the gradient rather than pooling beneath the surface, and it permits air circulation underneath, preventing moisture entrapment and extending tile longevity.
Thickness is determined entirely by the critical fall height your installation must accommodate. There is a direct relationship: higher fall protection requires thicker tiles to absorb greater deceleration forces on impact.
Guidelines suggest these approximate thicknesses: up to 1 metre fall height, approximately 30 mm; up to 1.5 metres, 40–50 mm; up to 2 metres, 65–80 mm; up to 3 metres, 90–100 mm. These are indicative ranges; your tile supplier's test certificate for each specific product will confirm the certified fall height at the actual thickness supplied.
Thicker tiles offer measurable advantages beyond impact protection. Greater material volume means slower wear under foot traffic; a 100 mm tile will perform longer than a 30 mm alternative in the same application. Conversely, thinner tiles suit lower-traffic areas or temporary installations but require more frequent inspection and eventual replacement.
The elastic substrate beneath—such as natural soil, sand, or composite matting—can improve comfort underfoot, but it does not count toward certified fall height. Testing per BS EN 1177 is conducted on a concrete test rig without underlying cushioning. On hard surfaces (tarmac, concrete, paving), the tile itself must deliver the entire protection; any substrate contribution is a bonus but not a factor in the rating.
When selecting thickness, prioritise the manufacturer's certified fall height figure. This is what matters legally and practically. WARCO tiles are tested and certified per BS EN 1177, and all fall height claims are based on verified testing rather than assumption or generalisation.