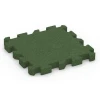
Interlocking playground safety tile UZ "Grass green"
- /
-
Ready to ship
from stock in 1-3 days - £71.20 / 4 Piece / m²
- (9.80 kg / Piece)
EAN: 4251469363076 | Item no.: 6307
The WARCO interlocking playground safety tile provides certified protection wherever slips and minor falls need to be cushioned – on playgrounds, in nurseries and schools, on terrace play areas, and in community spaces. With certified protection for fall heights of up to 100 cm in accordance with EN 1177 (at a thickness of 4 cm), it is ideal for circulation and play areas that do not feature high climbing frames or raised platforms. In senior care facilities, rehabilitation centres and fitness areas, the elastic, interlocking tiles are a proven flooring option that delivers safety, comfort and cost efficiency.
Typical applications:
– Play zones for young children, balance and activity areas
– Schoolyards, nurseries and municipal sites
– Terraces with play equipment or seating areas
– Fitness and outdoor fitness zones
– Senior residences, nursing care, rehabilitation and therapy rooms
Material & structure:
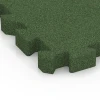
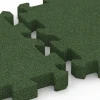
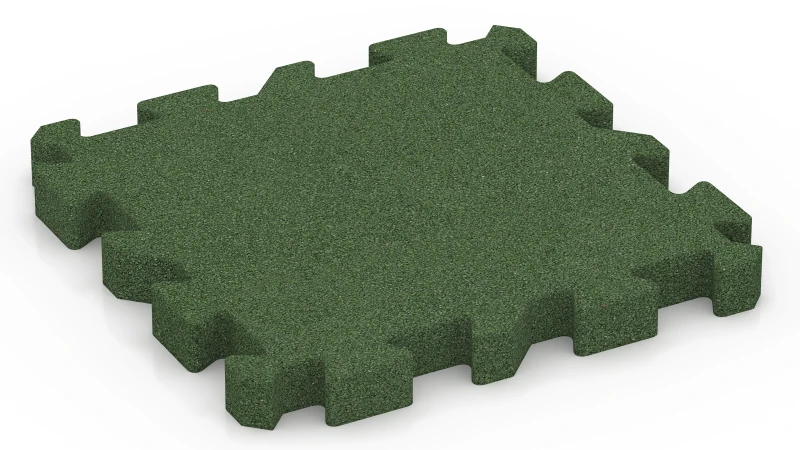
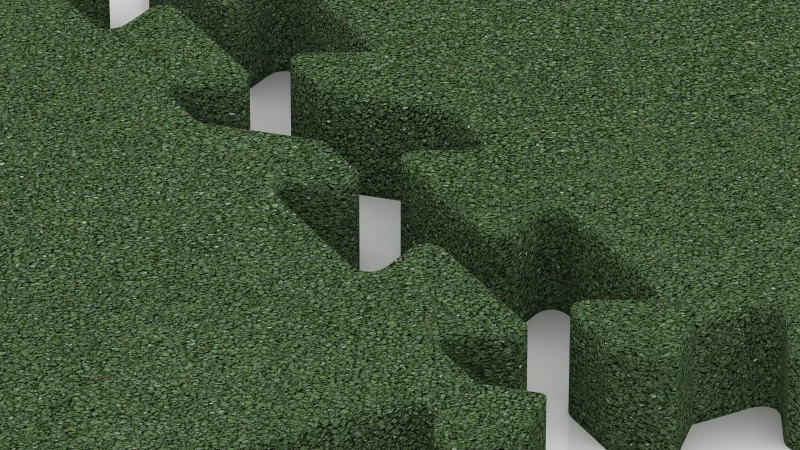
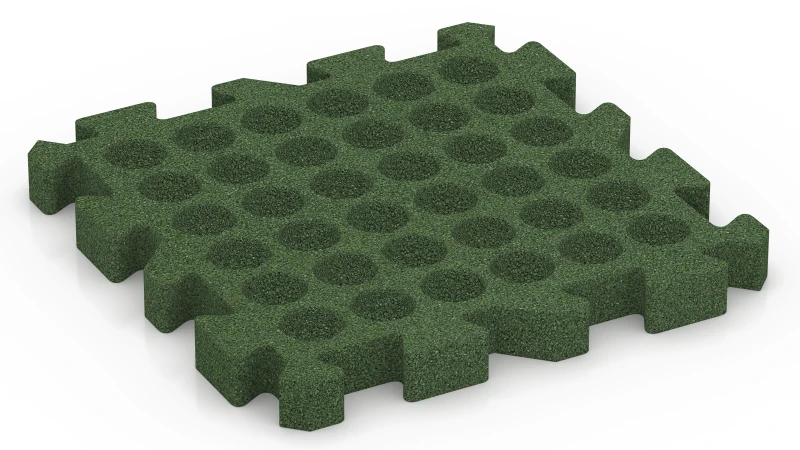
The tiles are manufactured from PU-bonded rubber granulate and feature a resilient, slip-resistant surface. Available in 3 or 4 cm thicknesses, they provide dependable shock absorption with a low build-up height. Precision-cut interlocking puzzle edges ensure a secure, form-fitting connection, while a slight edge bevel creates a calm, tidy joint appearance.
Connection & installation
The tiles are laid floating and joined via the interlocking puzzle edges. This produces a dimensionally stable, form-fitting surface with aligned joints (stack bond/cross joints) suitable for both indoor and outdoor use. The handy 50 × 50 cm format makes installation simple and requires no specialist tools.
Properties & safety
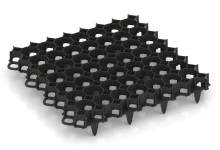
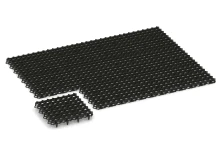
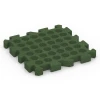
The tiles are slip-resistant in wet and dry conditions, water-permeable and resilient. Rainwater can either infiltrate the subgrade or drain through the integrated drainage channels on a bound base layer beneath the tiles. This prevents puddles or dust patches from forming, ensuring the surface remains usable all year round. Outdoors, unbound sub-bases (e.g. plastic honeycomb grids or gravel grids) help to prevent soil sealing.
Maintenance & economy
Maintenance is straightforward: rainfall rinses away light soiling, while heavier dirt can be swept or blown off. Cleaning with a mop, a pressure washer or professional floor-cleaning equipment is also possible. Individual tiles can be replaced if required. The modular system keeps costs predictable, making the interlocking safety tile a durable and economical choice for many applications.



Discount
Product Highlights
Characteristics
Product Details – Material and Structure
Comparative values
Rubber granule tiles and rubber granule mats are elastic floor coverings composed mainly of bound rubber granules from end-of-life tyres. ELT stands for end-of-life tyres, which are shredded and ground into rubber granules. The rubber content of these tyres consists mainly of SBR, or styrene-butadiene rubber, and NR, or natural rubber.
These rubber granules are processed with a binder under pressure in presses. The binder may be colourless or coloured, and polyurethane is normally used, creating PU-bound rubber granules.
Some rubber granule tiles and mats consist entirely of PU-bound ELT rubber granules, while others also have a top layer of EPDM granules. This EPDM layer forms the wearing layer. EPDM stands for ethylene-propylene-diene rubber, a modern synthetic rubber with particularly high UV resistance that is generally coloured throughout.
The thickness of playground safety mats and playground safety tiles must be selected according to their tested critical fall height, which must at least match the free fall height of the playground equipment. The greater the potential fall height, the thicker the mats or tiles need to be.
Thickness alone does not indicate the fall height a product can accommodate. Construction, density and elasticity also affect shock absorption.
As a broad guide for free fall height, the following thicknesses apply: - Up to 100 cm: 3 cm - Up to 150 cm: 5 cm - Up to 200 cm: 7 cm - Up to 300 cm: 10 cm
For shock absorption, the decisive value is always the critical fall height stated for the relevant product in its BS EN 1177 test report.
The number of tiles required for an irregular area can be calculated manually or determined using the digital laying planner.
For irregular areas, a scaled laying plan on graph paper is recommended. For the manual calculation method, draw the area on graph paper at a scale of 1:100, where 1 cm corresponds to 1 m. Place the tile grid over the drawing and draw the tiles within the area according to their laying dimensions. The drawing shows where offcuts will be required and allows the required number of tiles to be counted.
The online laying planner determines the quantity required more quickly than the manual calculation method. It is available for every product in the online shop. Once the area dimensions have been entered, the tool automatically calculates the number of tiles required and displays a suitable laying pattern. On the product page, simply click ‘Plan installation’. The planner works directly in the browser, is free of charge and does not require registration.
Visible jigsaw interlocks, plastic connectors and concealed jigsaw interlocks differ in their edge profile, joint appearance, available laying patterns and whether the tile area requires bonding or a perimeter restraint. Three variants are used for tiles made from rubber granules: visible jigsaw interlocks, plastic connectors and concealed jigsaw interlocks. With visible jigsaw interlocks, the toothed edge engages with the adjacent tile over the full tile thickness. Depending on the range, the teeth are dovetail-shaped or rounded, and are formed during pressing or cut from the tile at the factory after several days of curing. How clearly the tooth pattern remains visible across the surface depends on the edge design and colour. Where all four sides have the same tooth pattern, tiles can be laid in any direction; where the side profiles differ, the laying direction is fixed. This is the most stable of the three systems and holds the tile area together without bonding or a perimeter restraint.
Where bonding or a perimeter restraint is required, tiles with plastic connectors have straight edges and are joined by cylindrical plastic connecting pins inserted into factory-made holes in the tile sides. They are laid row by row in a half-bond installation. Each tile connects to four neighbouring tiles, with two in the preceding row and two in the following row; tiles within the same row are not connected. The plastic connector fittings limit movement across the pin axis, while tiles can still move along that axis. The tile area therefore needs bonding or a fixed perimeter restraint acting along the pin axis. An existing parapet or wall can often provide this restraint, as can an adjacent lawn at the same level, holding the tiles laterally.
Unlike the straight edges used with plastic connectors, concealed jigsaw interlocks place the toothed profile in a step on the underside, outside the visible edge area. Two tile sides carry the projecting profile, with the matching profile on the two opposing sides, which determines the laying direction. The interlock is not visible from above and the joints run in straight lines. Tiles can be laid in a stack bond or a one-third offset. Because the interlock sits within the step, the joint does not extend down to the sub-base, which remains fully covered.
Correct installation of safety tiles and safety mats requires the substrate, connection system, fall area, fall height and drainage to be matched to the intended use. This applies to outdoor impact-absorbing surfacing in gardens as well as on public playgrounds. Beneath play equipment, the tested critical fall height of the selected product and build-up must at least match the equipment’s free height of fall. The required dimensions of the fall area depend on the individual item of play equipment.
On concrete or asphalt, safety mats and safety tiles can be installed directly. Rainwater passes through the water-permeable surfacing to the sub-base, from which it is directed by a gradient towards a free edge or an outlet.
On grass or soil, direct installation is not appropriate. A loose fill of sand, chippings or gravel is also unsuitable as a substrate because it shifts over time. Once the turf has been removed, plastic honeycomb panels are laid on a thin bedding layer of chippings and filled with chippings up to their upper edge. The safety mats or safety tiles are then laid over them. Rainwater passes through the complete build-up and can infiltrate into the ground.
For higher loads or unfavourable ground conditions, an appropriately designed sub-base of compacted frost-resistant aggregate is also required beneath the laying course. Further installation depends on the connection system.
For safety mats with puzzle interlocking, the interlocking edge of one mat is pressed from above into the edge of the adjacent mat already in place. This stable connection generally requires neither bonding to the substrate nor edge restraint.
Safety tiles with plug-in connectors are laid in a half-bond pattern. They require edge restraint to prevent lateral movement. On a bound sub-base, bonding may be specified instead of edge restraint, depending on the installation situation.
During installation, safety tiles should have a uniform temperature of no more than about 17 °C and should not be heated by direct sunlight. A rubber mallet helps to position the tiles, while a circular saw assists with cutting. Where the impact-absorbing surfacing ends within a paved area, a securely fixed transition ramp prevents trip hazards.