
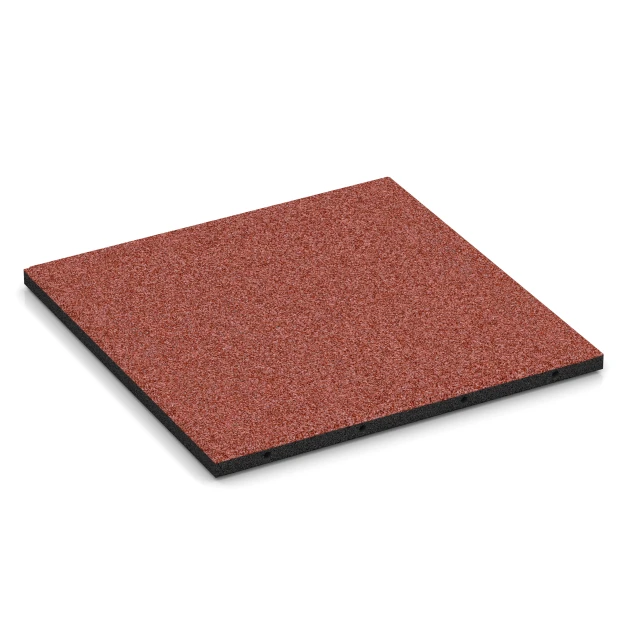
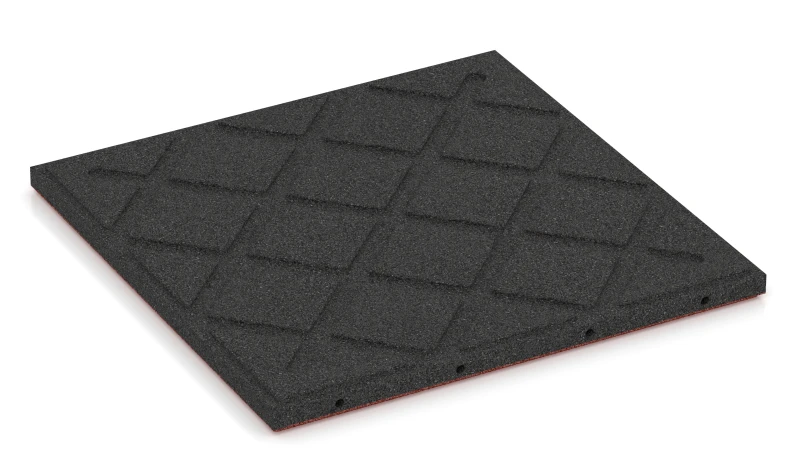
Dog resting mat FP "Tomato red"
- /
-
Ready to ship
in approx. 7-14 days - £46.80 / 4 Piece / m²
- (5.32 kg / Piece)
EAN: 4251469361836 | Item no.: 6183
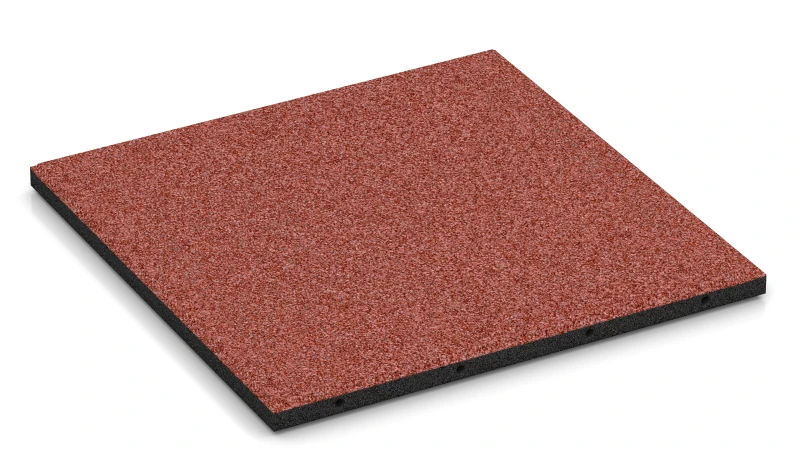
WARCO’s dog resting mat is a robust, elastic floor covering made from PU-bonded ELT rubber granulate (ELT = End-of-Life Tyres from recycled car tyres). It’s designed for areas where dogs need a safe, hygienic and comfortable surface—kennels, shelters, breeding facilities or the home.
Applications & benefits
Perfect for lining kennels and similar spaces. The mat protects sensitive paws, lightly cushions movement and provides a thermally insulating base. Its slight elasticity creates a comfortable area for resting and moving around, while the grippy, non-slip surface keeps footing secure. Kennel houses or crates can be positioned on top without issue. The greater the thickness, the better the protection against ground cold and moisture.
Material & properties
The mat is fully water-permeable: rain and wash water drain quickly and the surface dries fast. It tolerates disinfectants, so day-to-day hygiene is straightforward. Durable elasticity, temperature resistance and a grippy texture make it suitable even for heavier or restless dogs.
Installation & handling
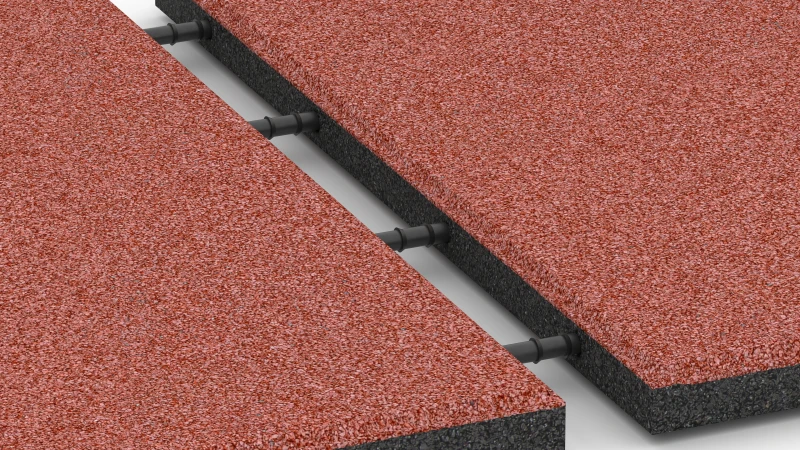
Install in a staggered half-bond (half-offset) and secure with plastic connectors. A perimeter edge restraint is always required; only edging together with the connectors keeps the field reliably in place. Loose, unedged installation is not recommended. The mats can be laid on a bound sub-base or on plastic ground grids. Cut to size with a circular saw or a heavy-duty utility knife.
Formats
50 × 50 cm in 2.5 / 3 / 4 cm thickness, and 100 × 100 cm in 3 cm thickness—ideal for efficiently covering areas of many sizes.


Discount
Product Highlights
Characteristics
Product Details – Material and Structure

Comparative values
The number of tiles required for an irregular area can be calculated manually or determined using the digital laying planner.
For irregular areas, a scaled laying plan on graph paper is recommended. For the manual calculation method, draw the area on graph paper at a scale of 1:100, where 1 cm corresponds to 1 m. Place the tile grid over the drawing and draw the tiles within the area according to their laying dimensions. The drawing shows where offcuts will be required and allows the required number of tiles to be counted.
The online laying planner determines the quantity required more quickly than the manual calculation method. It is available for every product in the online shop. Once the area dimensions have been entered, the tool automatically calculates the number of tiles required and displays a suitable laying pattern. On the product page, simply click ‘Plan installation’. The planner works directly in the browser, is free of charge and does not require registration.
Visible jigsaw interlocks, plastic connectors and concealed jigsaw interlocks differ in their edge profile, joint appearance, available laying patterns and whether the tile area requires bonding or a perimeter restraint. Three variants are used for tiles made from rubber granules: visible jigsaw interlocks, plastic connectors and concealed jigsaw interlocks. With visible jigsaw interlocks, the toothed edge engages with the adjacent tile over the full tile thickness. Depending on the range, the teeth are dovetail-shaped or rounded, and are formed during pressing or cut from the tile at the factory after several days of curing. How clearly the tooth pattern remains visible across the surface depends on the edge design and colour. Where all four sides have the same tooth pattern, tiles can be laid in any direction; where the side profiles differ, the laying direction is fixed. This is the most stable of the three systems and holds the tile area together without bonding or a perimeter restraint.
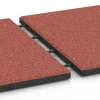
Where bonding or a perimeter restraint is required, tiles with plastic connectors have straight edges and are joined by cylindrical plastic connecting pins inserted into factory-made holes in the tile sides. They are laid row by row in a half-bond installation. Each tile connects to four neighbouring tiles, with two in the preceding row and two in the following row; tiles within the same row are not connected. The plastic connector fittings limit movement across the pin axis, while tiles can still move along that axis. The tile area therefore needs bonding or a fixed perimeter restraint acting along the pin axis. An existing parapet or wall can often provide this restraint, as can an adjacent lawn at the same level, holding the tiles laterally.
Unlike the straight edges used with plastic connectors, concealed jigsaw interlocks place the toothed profile in a step on the underside, outside the visible edge area. Two tile sides carry the projecting profile, with the matching profile on the two opposing sides, which determines the laying direction. The interlock is not visible from above and the joints run in straight lines. Tiles can be laid in a stack bond or a one-third offset. Because the interlock sits within the step, the joint does not extend down to the sub-base, which remains fully covered.
Installation of many WARCO rubber tiles can be carried out without a specialist contractor.
WARCO rubber tiles can be used as flooring for patios and balconies, as fitness flooring and as playground safety surfacing. This requires the product, substrate and build-up to be appropriate for the intended application.
The tiles are loose-laid. Depending on the range, they are joined using a puzzle-style interlock or plastic connectors.
Preparation of the substrate and any necessary edge cutting can be managed with practical DIY skills.